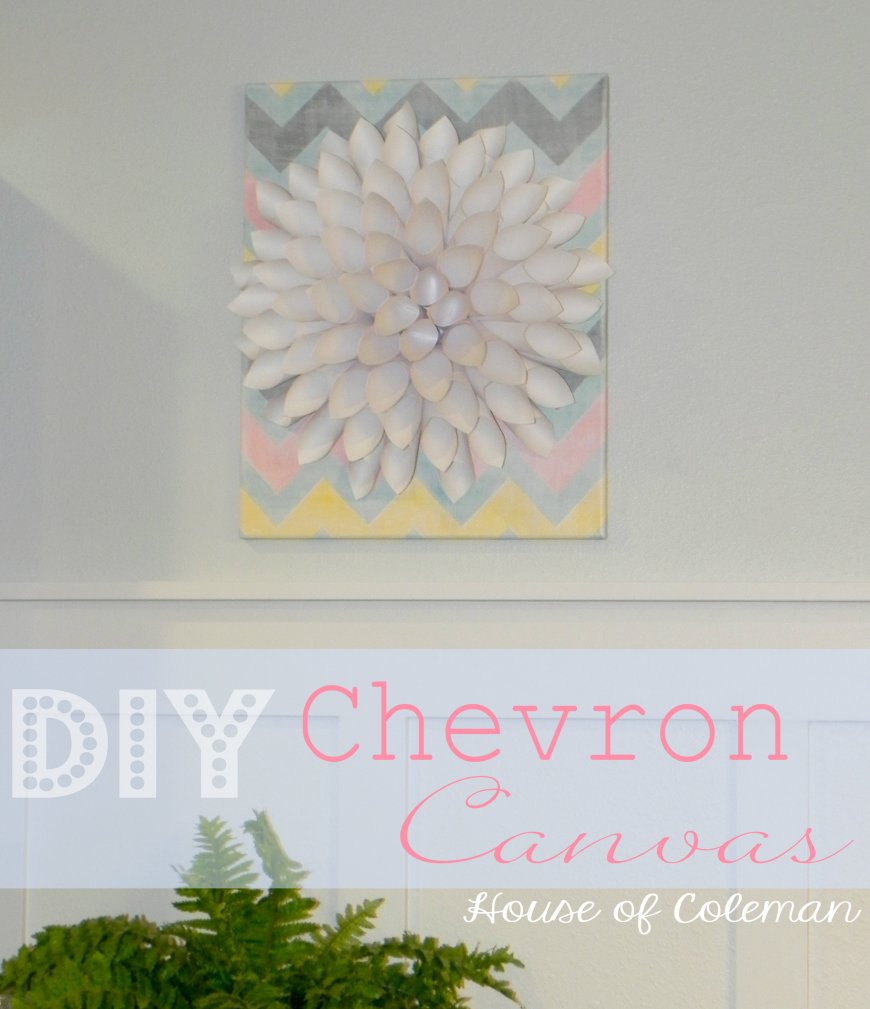
As most of you know we just got finished adding some fresh paint and some board and batten to our Kitchen (You can read about it HERE, HERE and HERE). I seriously still can’t get over how much I love the new look! And now I’ve got to get to decorating!
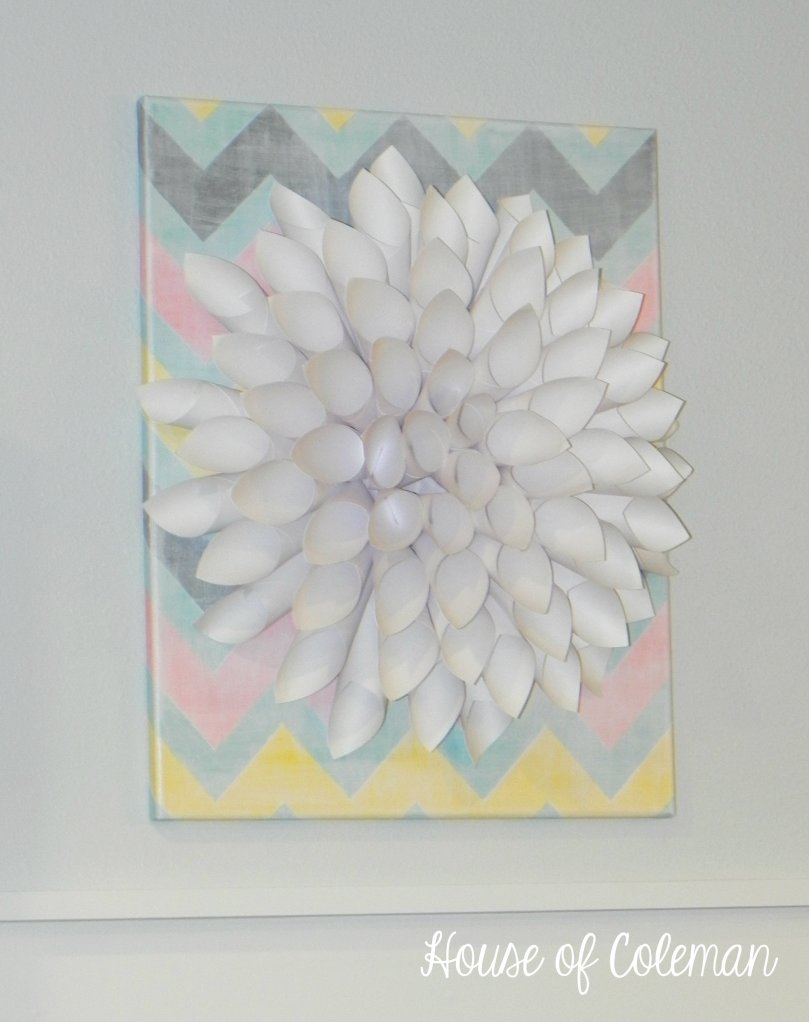
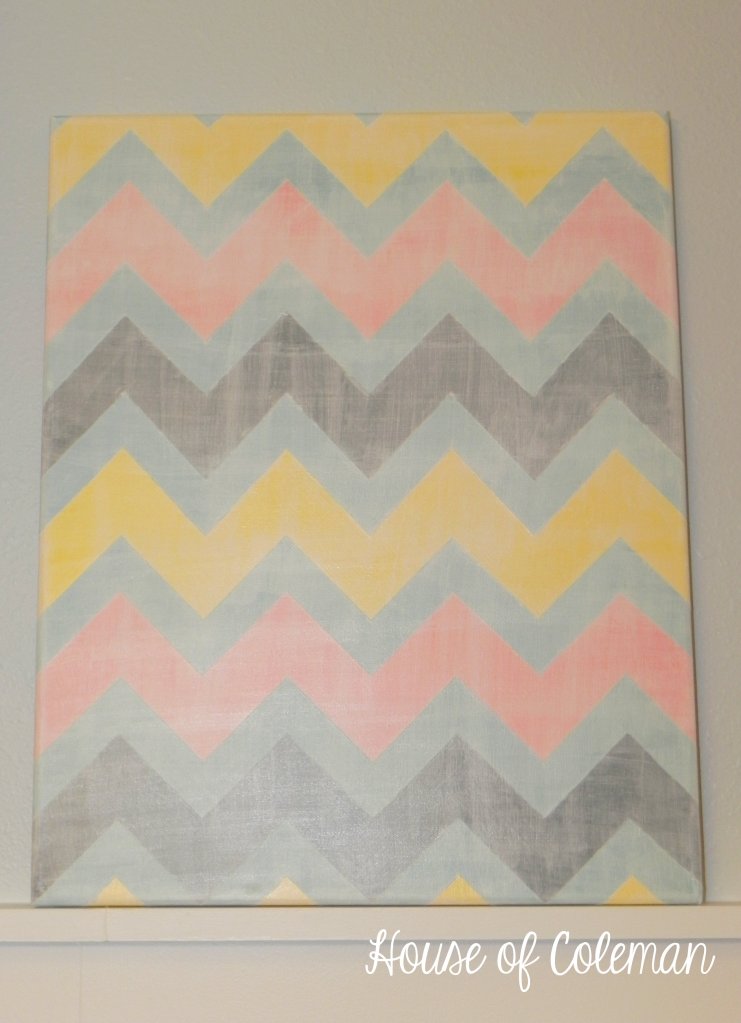
The other day I was looking at the Dahlia I have hanging on the wall and noticed it really needed to be a bit bigger for the wall it was on. Since I really didn’t want to redo it, I decided I’d add something to it! Give it a backdrop to pop off of, something colorful…and what a great way to do that with a Painted Chevron Canvas!
Honestly anything would look great on this canvas, maybe an inspirational quote, picture or nothing added to it at all (just to name a few).
I’m absolutely thrilled with how it turned out! Here is how I did it if you want to make one too!
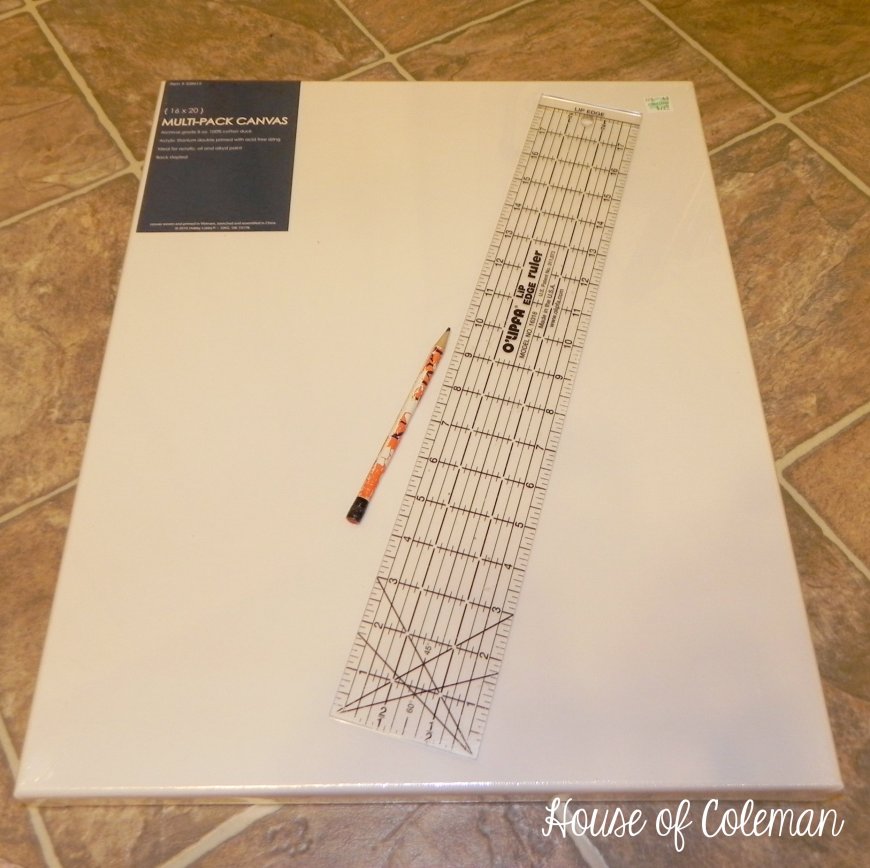
First gather your supplies!
Canvas
Paint colors of your choice
Painters tape
Pencil
Eraser
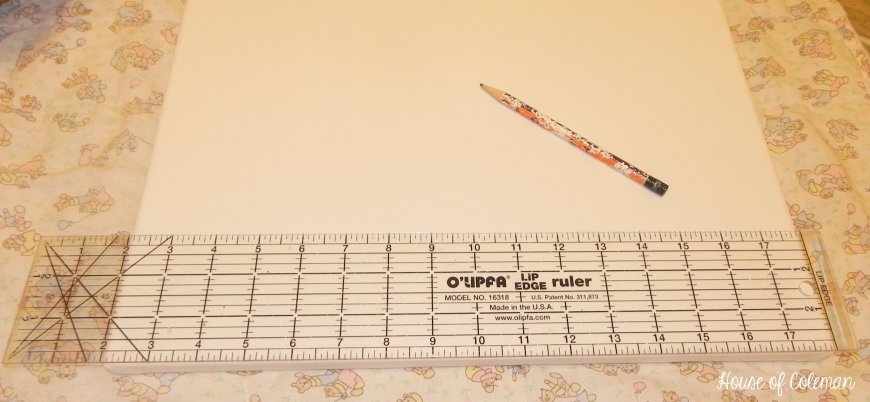
Ruler
Scissors
Paint brushes
Paper plate (or something for your paint to sit on)
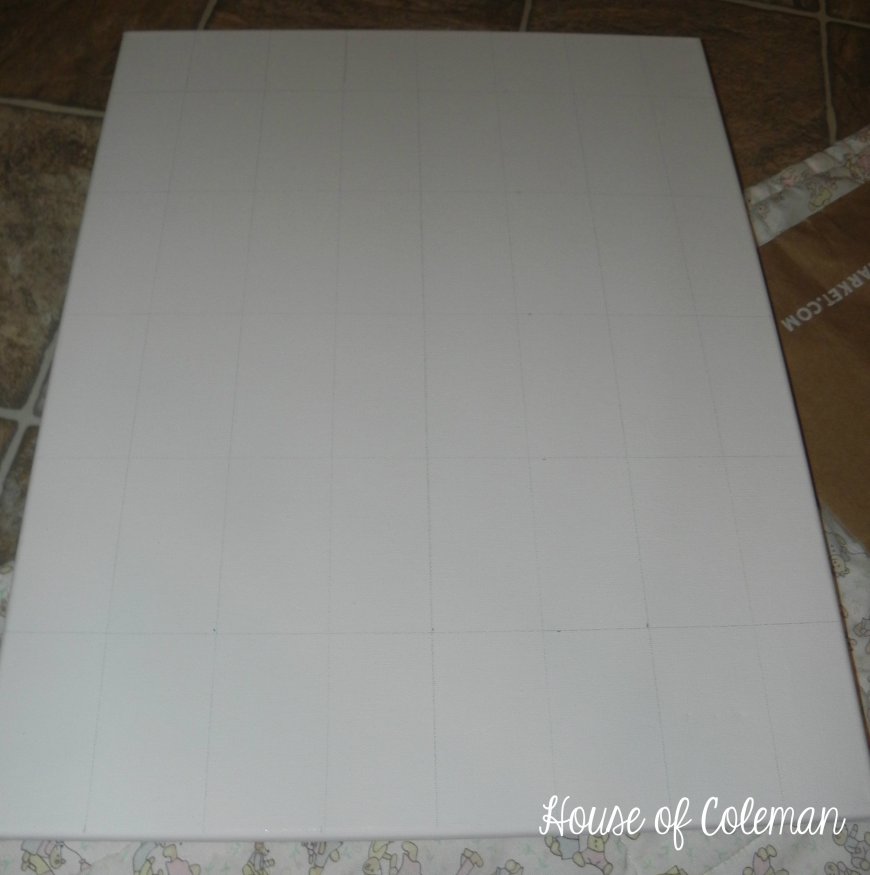
Now comes the tedious part of the project….measuring, marking and taping! I didn’t have any idea how to get chevron stripes to be honest! But like always with trial and error I figured it out 🙂 To spare you the dets I eventually figured out that to get the stripes even I needed to mark my canvas at every 3 inches horizontally and every 2 inches vertically.
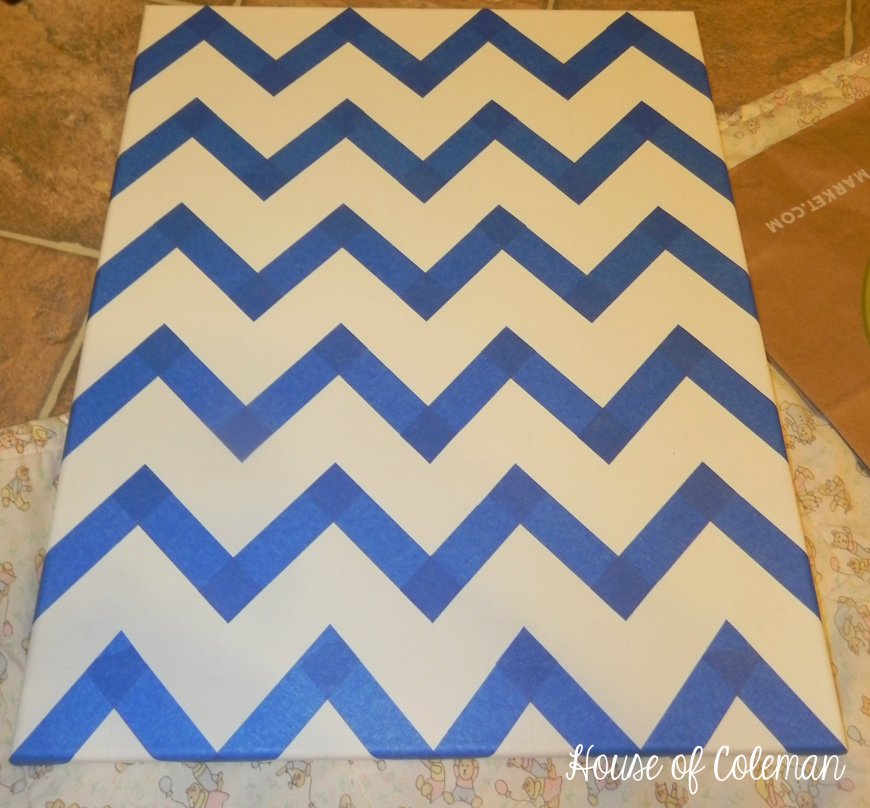
Now get to taping! I used my scissors to cut the tape at every point so that it formed perfectly straight lines.
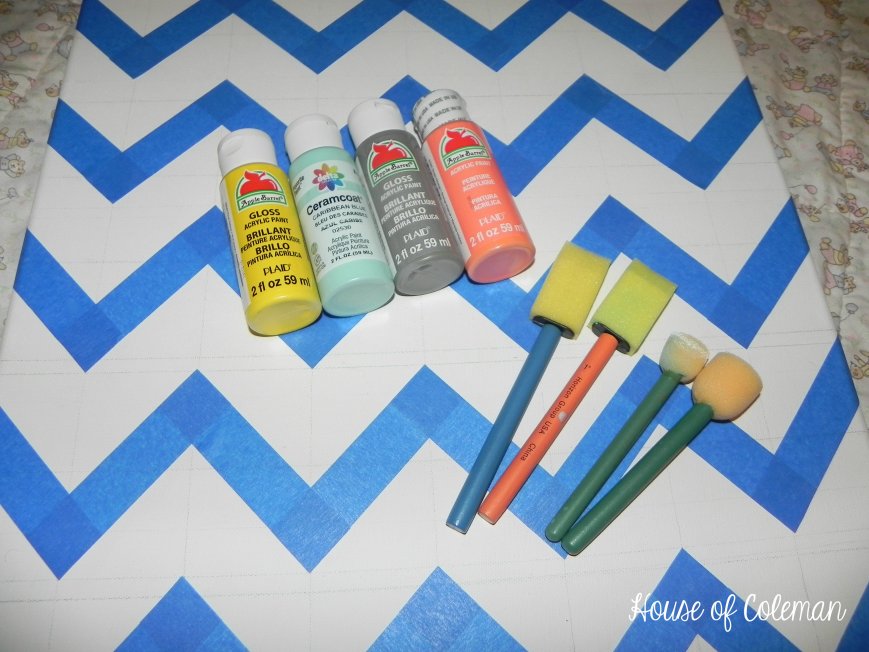
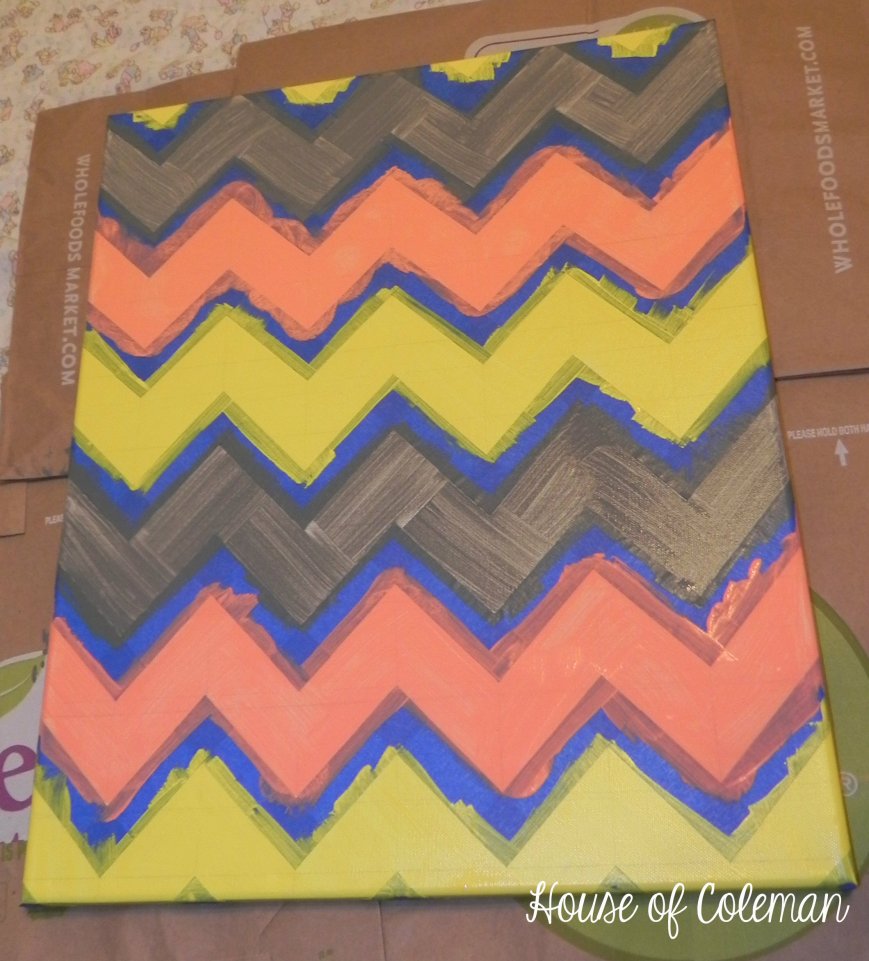
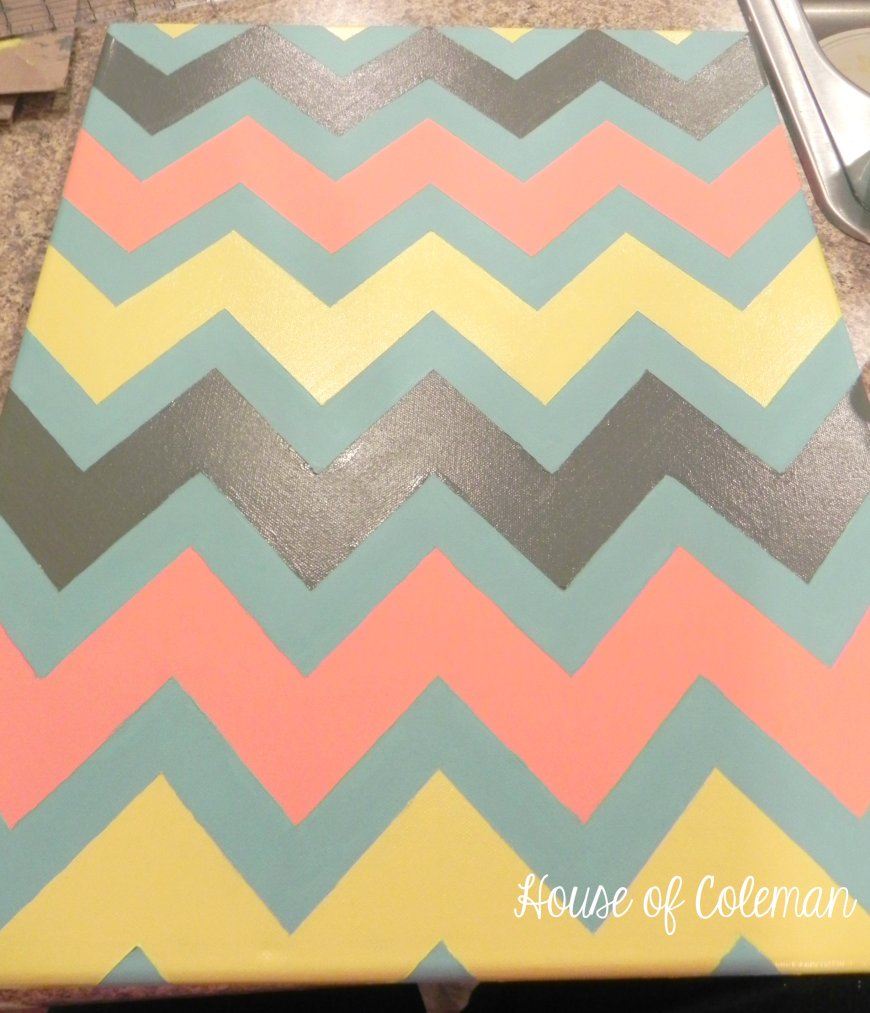
After your canvas has been taped erase ALL the pencil marks!! {Another trial and error lesson! Don’t be like me :)} After you finish that step it’s time to paint! I picked 4 different colors {one color would be fine too!} … the picture below was my trial and error canvas all the extra lines are just from me trying to figure things out….pay no attention to them!
I used sponge brushed to apply the paint to the canvas. {if you don’t have sponge brushes any brush will work fine} Once you figure out your colors and their placement on the canvas it’s time to paint!
{if you were smart enough to erase your pencil lines you could get away with just once coat of paint…I was not that smart and it took A TON of paint to cover them up!}
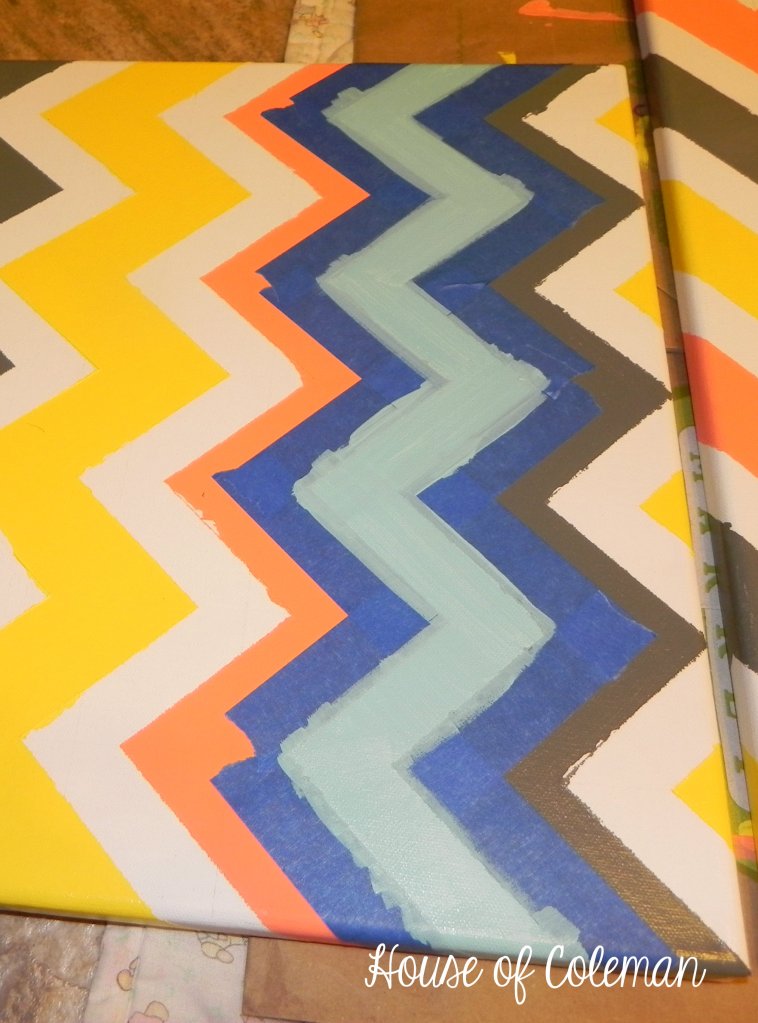
As soon as you finish painting your stripes you should take the tape off while the paint is still damp. If not your paint will come off in places with the tape! {lesson learned…haha}
See…not cute…fixable but not cute!
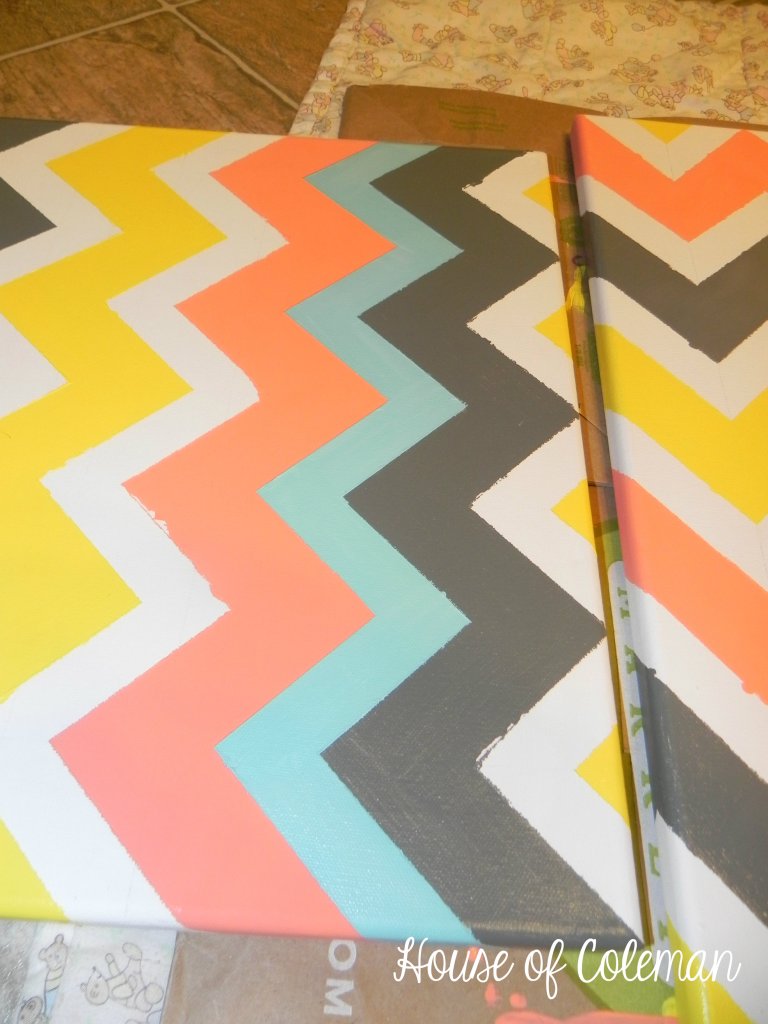
You could totally leave the parts that the tape covered white and it would look great. I, however, didn’t want any white on my canvas. So after the tape was off I thought I was going to just tape over all the stripes (like above) but after the first stripe realized that was just wayyyyy to much work! I’m so impatient! I ended up just getting a small angled paint brush and carefully painted the blue without any tape! It worked just fine!
After I finished painting all the white to blue I went back over all the other colors with the same brush and touchede up any spots that came up with the tape.
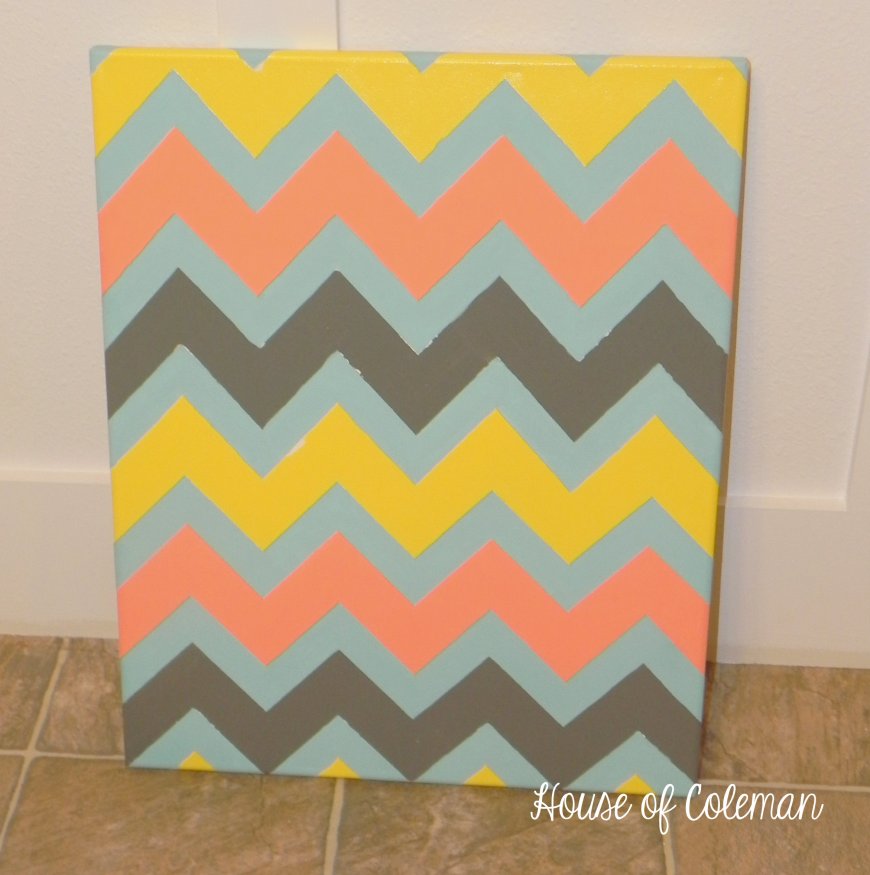
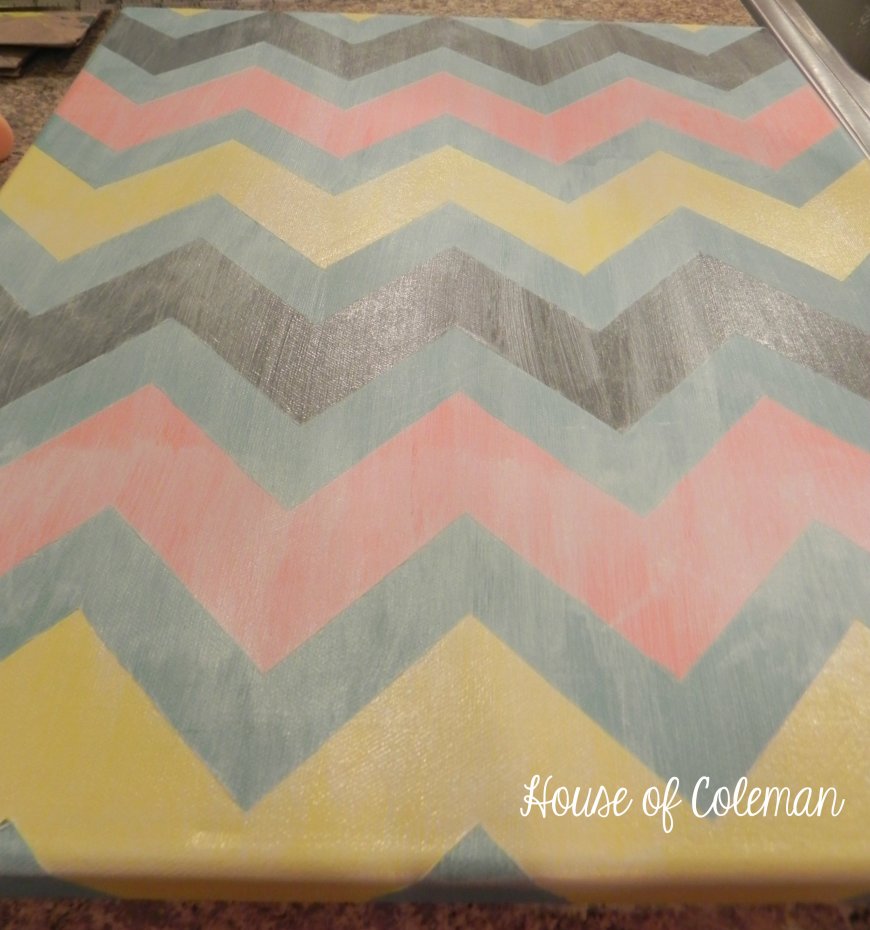
At this point you could be finished…but…I wanted a softer feel. The colors I chose {on top of the multiple coats I had to add} were a bit too bright for what I was initially going for. So….I thought about it for a bit and thought if I added a thin white coat on the top it would soften the whole thing!
So that’s exactly what I did!
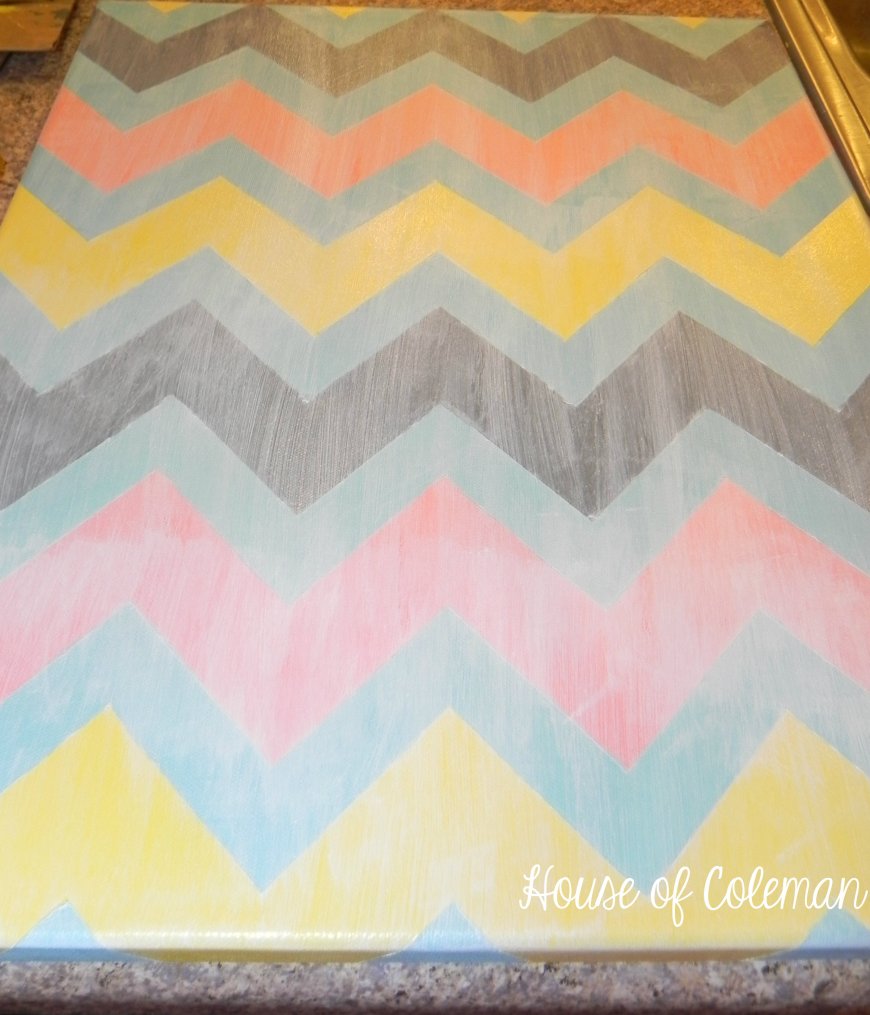
All I did was brush white paint vertically over the entire canvas and the sides as well. Then once that dried I brushed on a second thin coat horizontally over the entire canvas and sides.
Exactly what I was looking for!!! I was sooo excited when it dried and I propped it up against the wall! It was exactly as I had pictured it!
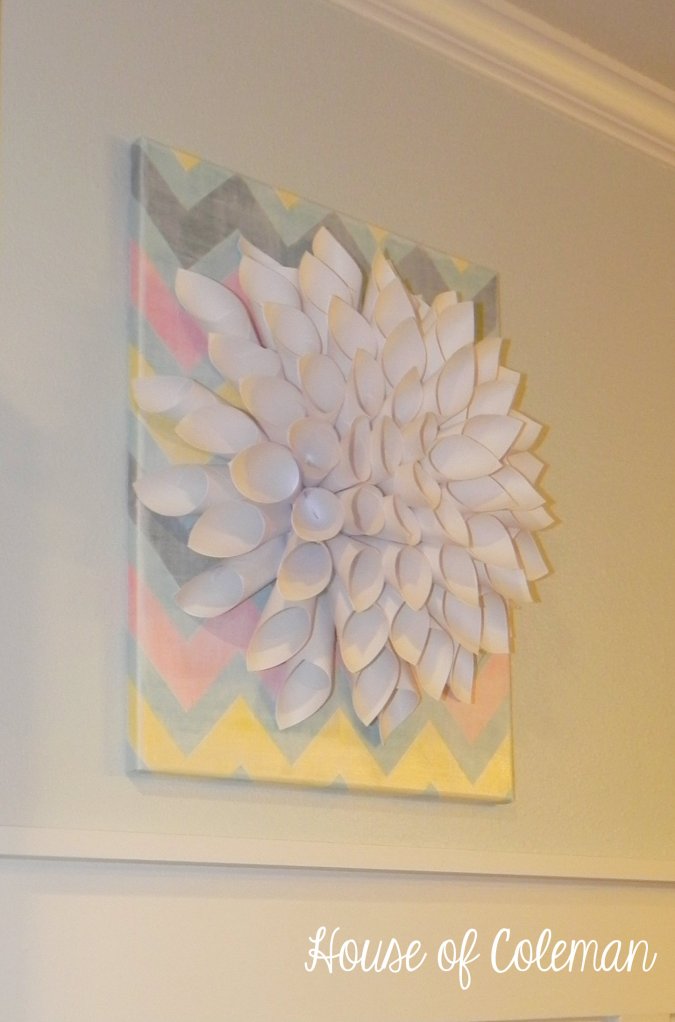
Then I took the Dahlia off the wall and added it to the center of the canvas…
I L.O.V.E it!!
Such a simple fix…and I couldn’t be happier!



Brilliant article… totally loved it
Thank you, for this.. Very informative and nice blog.
this is really a big help. Thank you!! Very informative and nice blog. wish you all the best !!
Thank ya’ll!! I’m so happy you like my blog!! I hope you keep coming back and checking for new projects!!
This chevron canvas wall art is looking very nice and unique, you did an admirable work, i don’t have more word to say about your creativity, it’s an excellent work in my opinion, keep it up.
Thank you!!
How did you keep from turning your painting white? I’m afraid if I apply a coating of white it’s all gonna turn white. I tested the side and it didn’t turn out like yours. My white is really thick should I dilute it? I don’t want to ruin my canvas! 😦
Hi Kellye! I don’t think that my white paint was thick. You could dilute your paint and I believe it would help. I just dipped my brush in my paint as usual and just made sure I spread it out over the canvas until it was the look I was going for. I hope that helped and good luck on your painting!
You are amazing and made my project so much less confusing, lol. I’m trying it with just 2 colors for a nursery and my brain was going crazy trying to figure out the chevrons! 🙂 Love your project(and I really really love that dahlia!). Thanks for the instructions!